Views: 125 Author: Site Editor Publish Time: 2018-09-18 Origin: Site
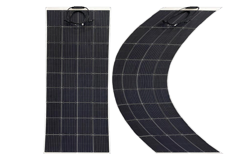
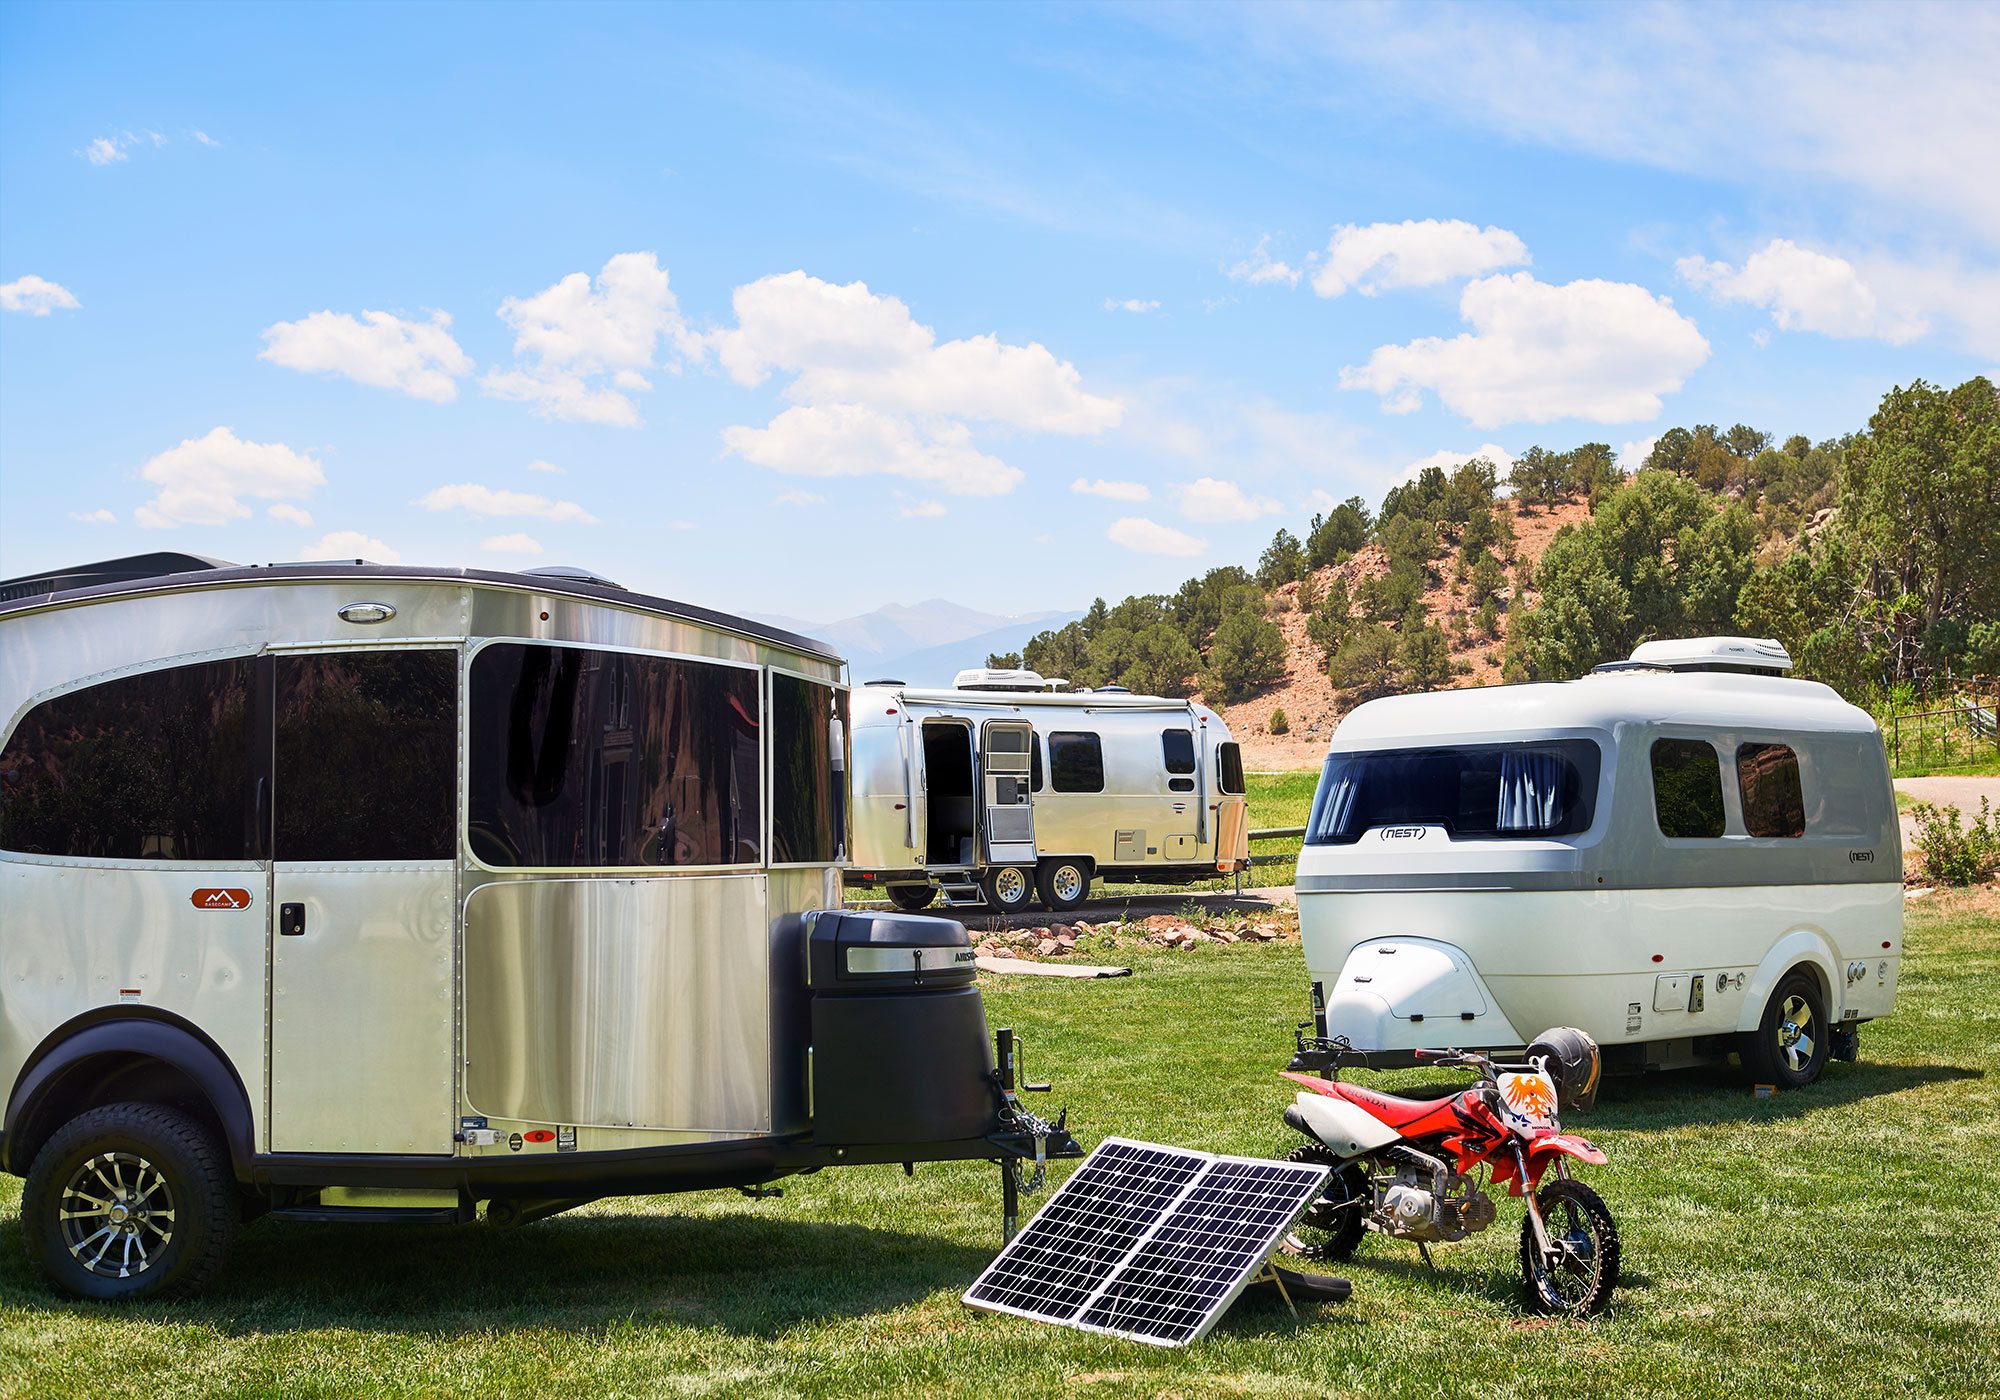
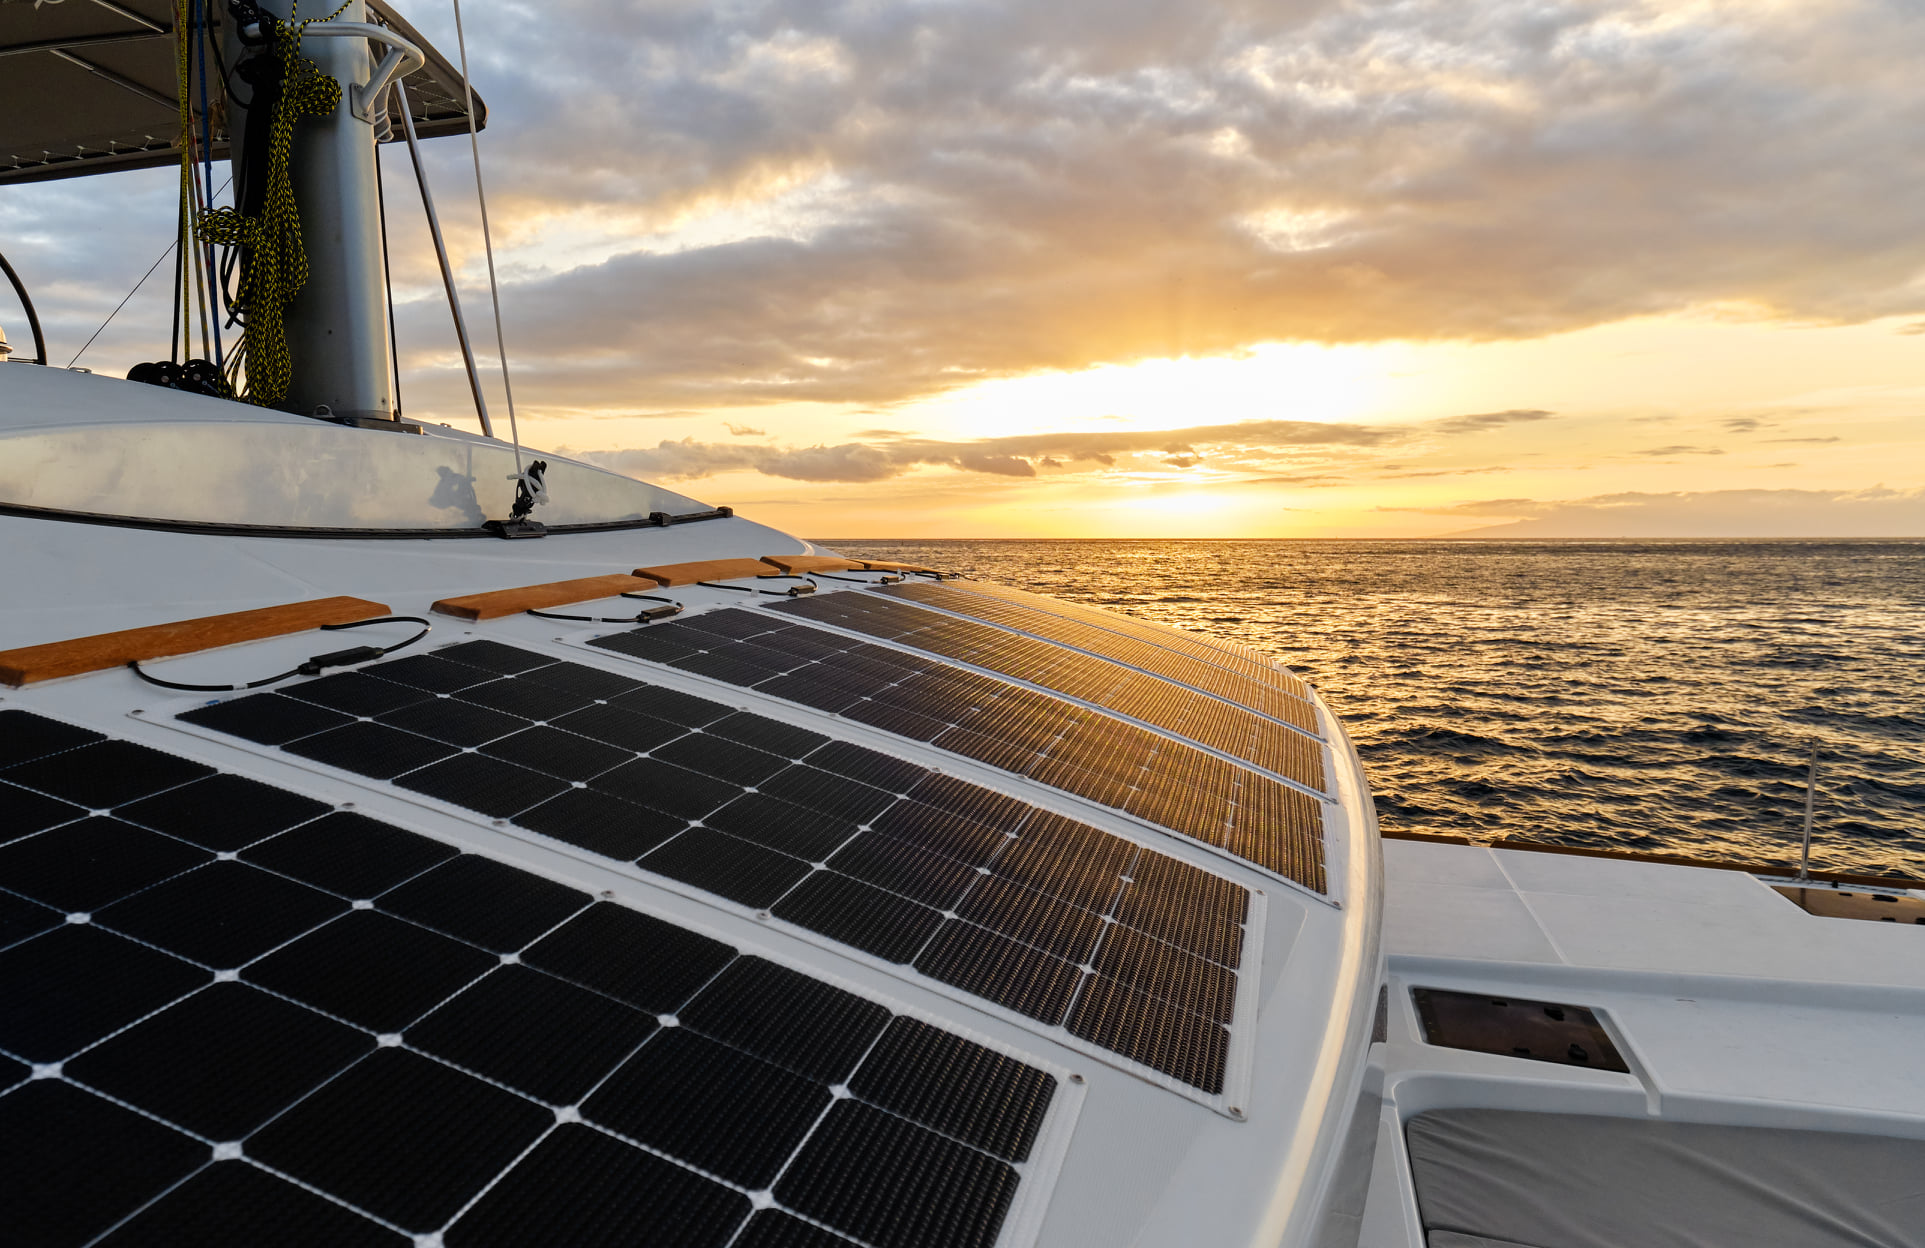
Nowadays,flexible solar panel is more and more widely used,with SunPower back contact cells or conventional solar cells,the SunPower back contact cell flexible solar panel is the most popular in the market.It has unique back contact cells and higher cell efficiency.Flexible solar panels are for camping,RV rooftop,marine,boat,yacht,different application will differ in installtion as well.Flexible solar panels are used in the same manner as the classic solar panels. The only difference is that flexible solar panel is handy and can be utilized for more conditions. These panels can be installed at home, be taken on trips, and provide access to electricity when a power source is not available. In this way, hassles on road trips are lessened, yet the energy cost and supply is not an issue. In this article, you will be given a basic step by step guide on how to install flexible solar panels.
Step 1 – Check the Parts and Get the User Instruction Manual
Each model varies, and so you need to check the instructional manual to help you install your kit.Also,you may install in differnt way like on surface of yacht,or the boat have bimini,or the rooftop of RV.
Step 2 – Attaching the Arms
Connect the arm brackets to the back of the solar panel. Screw it on both sides and then place in the lock washers to ensure the fitting of the arm brackets and then tighten the screw.
Step 3 – Attach the Mount
Place the mount on the back of the solar panel just in between the arm brackets. Then, screw it using the hex and nuts that come with the kit. Place the washer and the flat washer on each bolt. There are two washers locking the bolt in place on each side.
Step 4 – Attach the Solar Panel Pole Mount
Place the solar panel pole mount at the back of the mount. Screw them in place using the lock. Each side has two hex bolts and four washers. Tighten them using a wrench or a screw driver. Remember hex bolts go in first and then the washer. The last will be the flat washers. Your solar panel should be standing by itself by now.
Step 5 – Face It to the Sun
This may sound easy, but to get a full impact of the sun, you need to remember that if you are located in the Northern hemisphere or you are facing north in the Southern hemisphere, the solar panel should be facing south.
Step 6 – Wiring
When wiring your solar panel, you should consult an expert to get a more positive result. However, here is the basic. Remember that there are many types of flexible solar panel and so the instruction varies.
Step 7 – Connect the Panel to the Batteries
The positive wire from the panel must be attached to a battery with a fusible link. Connect the negative wire from the solar panel to the negative input in the battery.
Step 8 – Wiring the Solar Panel
You need to connect the positive wires with another positive wire in the solar panel. and so on. Follow the same process with the negative wires and then wire the negative end of the wiring into the negative terminal of the battery, and the positive end of the wiring to the positive terminal of the battery.
Flexible solar panel is product with electricity,for any installation,it's better handled by electrical professionals,no kids or pets beside,to avoid possible danger.